How to Repair Drywall Holes: A Comprehensive Guide
Repairing drywall holes is an easy home repair task. Whether they are due to bumping into something or normal use. Drywall holes can be easily repaired with the right technique and tools. This guide provides a simple, step-by-step guide on “how to repair drywall holes”, ranging from minor dings to large, deep holes.
Understanding Drywall & Typical Causes of Damage
Drywall contains gypsum plaster sandwiched in two sheets of paper. Drywall is a relatively inexpensive light-weight building product utilized extensively on ceilings and walls. Drywall may be prone to easy damage where there exists excessive traffic. Some of the most prevalent forms of drywall damage are:
- Accidental impacts: A closing door or falling item can create holes.
- Popped nails or screws: It can be a result of changes in humidity or building settling.
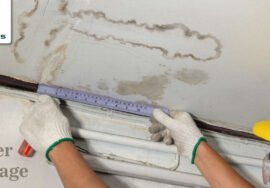
- Water damage: Leaks in drywall can make it crumble or create big holes.
- Wear and tear: Corners and edges can get worn from everyday usage over time.
Tools and Materials Needed
All the materials and tools must be procured before the repair is started. For small holes, the job can be completed in a matter of seconds, but larger holes will require more equipment.
Materials:
- Joint compound
- Drywall patch (for big holes)
- Drywall tape (optional)
- Sandpaper (fine-grit)
- Primer and paint (to complete)
- Painter’s tape (for sharp edges)
Tools:
- Putty knife or drywall knife
- Utility knife or drywall saw (for big holes)
- Sponge or cloth (for cleaning)
- Sanding block or electric sander (for smoothing)
- Measuring tape (optional)
- Drill (optional)

Step-by-Step Guide to Repair Small Holes
1. Assess the Damage
Begin by determining the size and type of hole you’re dealing with. Small holes (less than 1 inch in diameter) can often be repaired quickly. These might include nail or screw holes, small dings, or pinpricks.
2. Clean the Area around the Hole
Clean the area around the hole before repairing. Remove dust, debris, or loose drywall with a damp cloth. If the edges of the hole are rough, cut them with a utility knife to give a clean surface to repair.
3. Apply Joint Compound
In case of tiny holes, fill the hole with joint compound with a putty knife. Press the compound into the hole so that the hole is filled completely. Smoothen the compound to create a smooth surface. If necessary, use a second coat once the first one has dried. Allow it to dry completely, which will take about 24 hours.
4. Sand the Surface
After the joint compound dries, sand using a sanding block or fine-grit sandpaper to make the surface smooth. Sand very lightly until level with the area wall. Avoid over-sanding, as this can produce uneven surfaces.
5. Paint & Finish
After the compound has been sanded to a smooth finish, it’s paint time. First use primer over the repaired area, then use paint that’s identical to the rest of the wall. To get a professional-quality finish, paint in several thin coats, allowing each to dry before painting on the next one.

A Stepwise Process to Repair Large Holes
When holes are large (over 1 inch in diameter), the more repairing process is involved. Also, it is essential to do correct drywall cost estimation for maintenance. Such holes are normally caused by accidents, water damage, or structural issues.
1. Prepare the Hole
For larger holes greater than 1 inch in diameter, the first thing to do is to cut the edges of the hole to create a square, clean shape. Use a utility knife or a drywall saw for this purpose. Remove loose drywall and debris from the hole.
2. Cut a Drywall Patch
Verify the size of the hole and cut a drywall patch to the same size. For a round or irregularly shaped hole, a custom-sized patch might need to be made. Ensure the patch is cut slightly larger than the opening to leave space for an effective adhesive bond.
3. Install the Patch
If the hole is larger than 2 inches, you may need to install a support to hold the patch. This can be done by inserting a wooden brace or piece of scrap drywall inside the hole. Then, screw the drywall patch to the support.
4. Apply Joint Compound
Once the patch is in place, apply a coat of joint compound to the edges of the patch. Apply the compound smooth with a putty knife so it blends with the surrounding wall. If necessary, apply a second coat after the first has hardened.
5. Tape the Joints (Optional)
If the hole is large, you may need to apply drywall tape to the patch edges. This will eliminate the possibility of cracks forming near the patch zone. Apply a coat of joint compound over the tape, then smooth it and let it dry.
6. Sand and Smooth
When the joint compound dries completely, sand it lightly to make the area even smoother. Blend the area to be patched and the adjacent wall nicely. Repeat the steps of applying joint compound, letting it dry, and sanding until the process reaches its optimum if not satisfactory enough the first time around.
7. Paint the Area
Once you’re satisfied with the smoothness of the patched area, apply a coat of primer and paint to blend the repair area into the rest of the wall. Multiple coats may be needed for the best result.
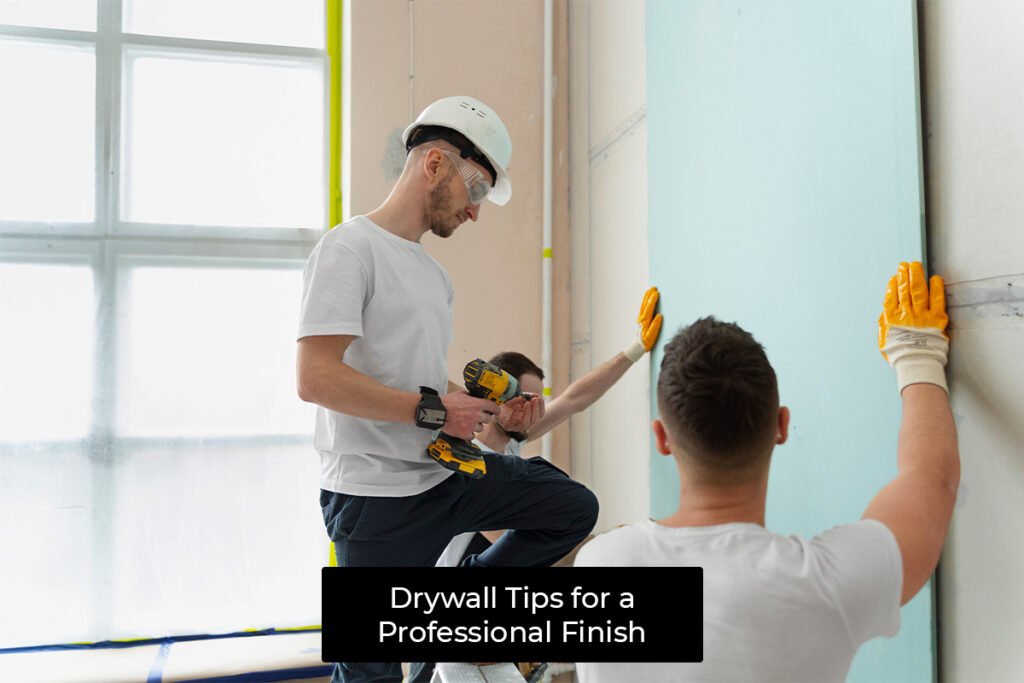
Tips for a Professional Finish
- Take your time: Rushing the process can lead to uneven surfaces and poor results. Allow each layer of joint compound to dry thoroughly before moving on to the next step.
- Use a good quality paint: With a good quality paint, the patched area will blend in with the neighboring wall for perfection.
- Texture: If your wall is textured (orange peel or knockdown), you may need to retouch the texture after the joint compound has dried. You can retouch the texture using a spray texture or sponge.
- Clean the wall: Have the repair area clear of dust and debris while repairing, since it can influence the bonding of the compound and paint.
Conclusion
It is good to have the skill of repairing drywall holes as a homeowner. From small nail holes to deeper and wider damage, having the correct procedure in place will make your wall look brand new. No doubt, it’s great to know how to repair drywall holes. Indeed, with a good budget estimate, correct tools and techniques, and taking the time necessary to do the job right, you can restore the integrity and appearance of your drywall. Due to these steps in hand, now you can make any drywall repair a simple task.